Campervan electrics sound complicated, but the basics are easier to grasp.
Once you understand the handful of parts that make up a system and how they work together, the whole thing stops feeling like a mystery.
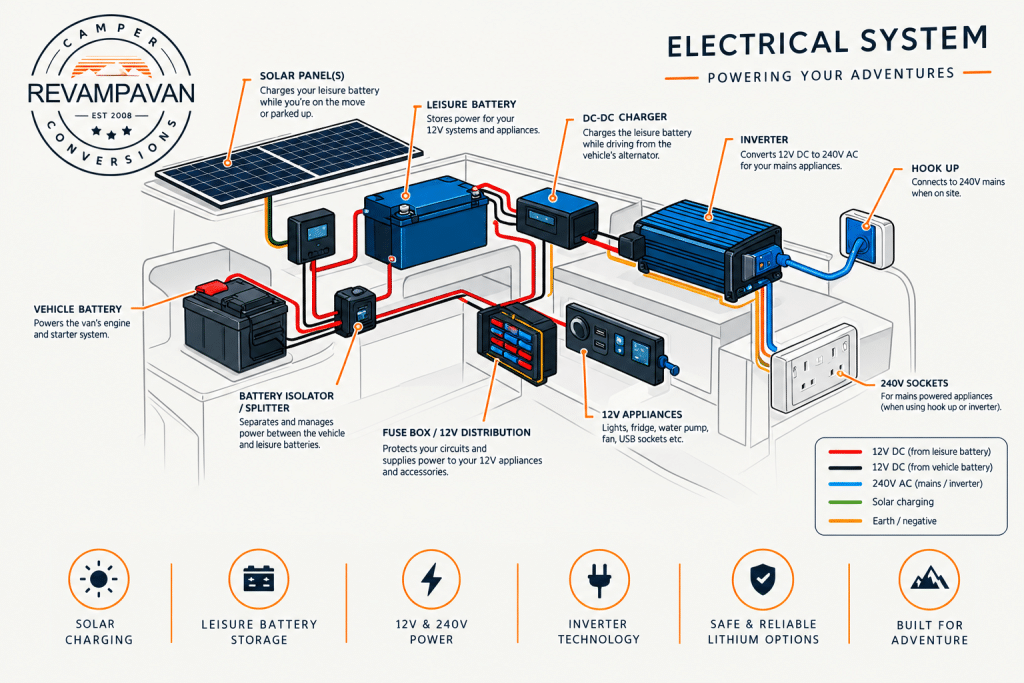
This beginner guide walks through 12V and 240V power, leisure batteries, charging and inverters, so you can plan a setup that suits how you travel and keeps everything running when you are off the drive.
The two systems: 12V and 240V
A campervan runs on two kinds of power.
The first is 12V
The same low-voltage direct current your vehicle battery uses. It powers most of the things you rely on day to day, such as lights, the water pump, USB charging, and a compressor fridge.
The second is 240V
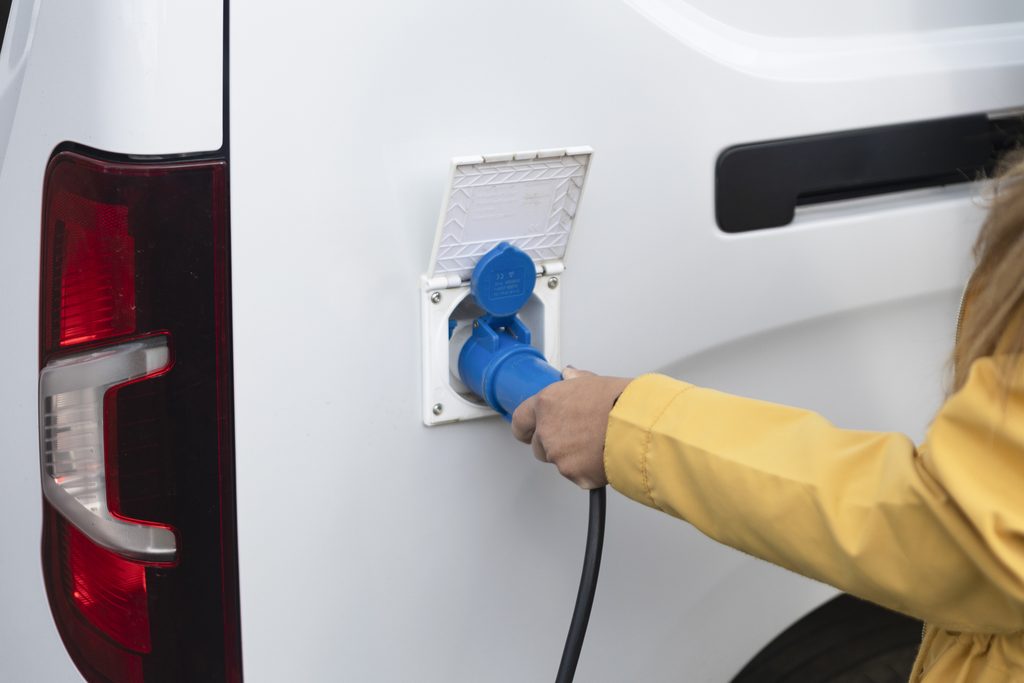
The mains power you get at home. You only need it for high-draw appliances like a microwave or a hairdryer, and you access it either by plugging into a campsite hook-up or by using an inverter that turns 12V battery power into 240V. Most weekenders live happily on 12V alone and treat 240V as a bonus.
The leisure battery: the heart of the system
Your leisure battery stores the power that runs the van when the engine is off. It differs from the starter battery under the bonnet, because it is built to discharge slowly over hours rather than deliver one big burst to start the engine. Two types dominate.
AGM batteries cost less up front and suit lighter users.
Lithium batteries cost more but store far more usable power for their size, charge faster and last longer, which is why they have become the popular choice for anyone who wants to camp off-grid. Sizing the battery bank correctly is the single most important decision in your campervan electrical system, so it pays to plan it around your real usage rather than guesswork.
How you charge the battery
A leisure battery is only useful if you can refill it, and you have three main ways to do that.
- The first is charging from the vehicle as you drive, using a split-charge relay or, better for modern vans and lithium batteries, a DC-to-DC charger.
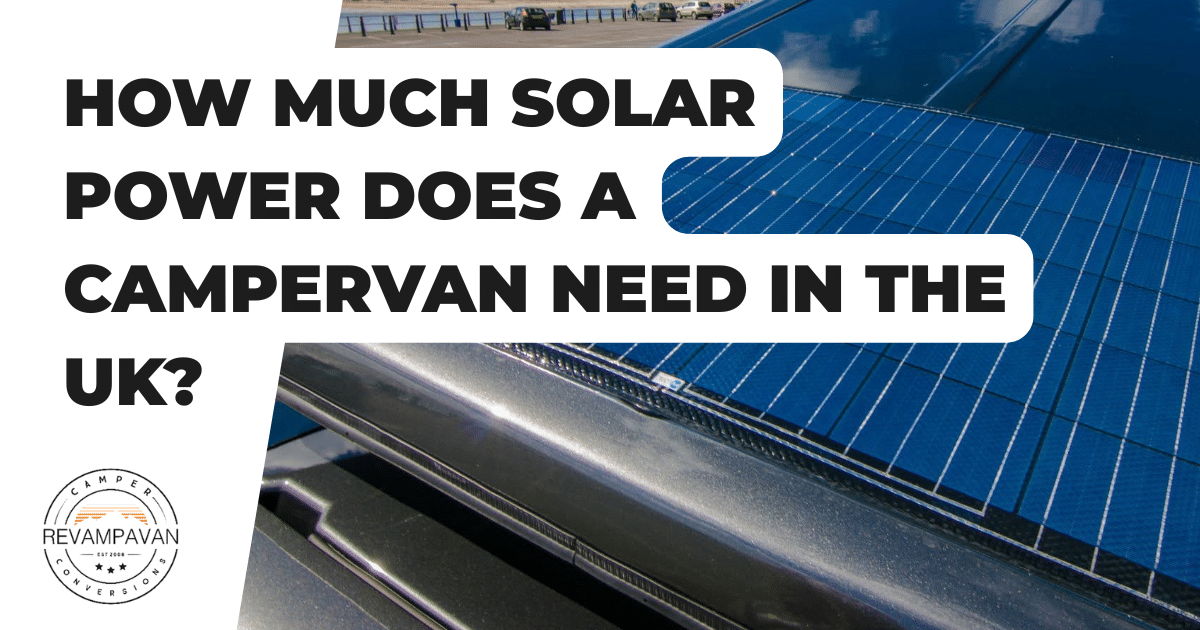
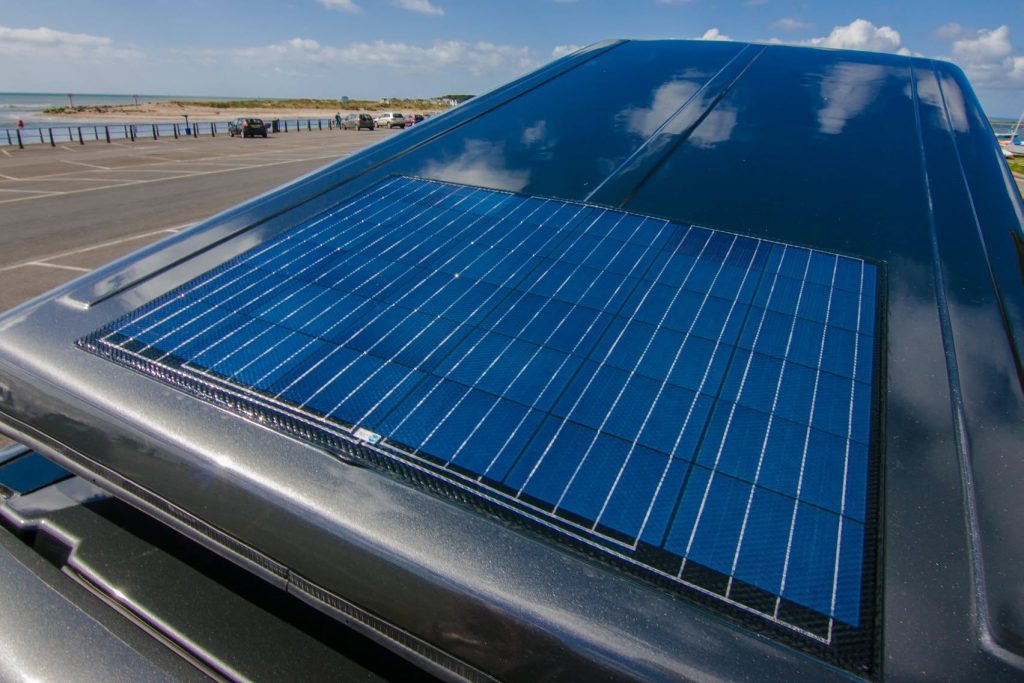
- The second is solar power, which tops the battery up quietly whenever there is daylight and is ideal for staying off-grid.
- The third is mains hook-up, where you plug into a campsite bollard and a mains charger refills the battery while also running your 240V sockets. Many well-built campers combine all three, so the battery stays charged whether you are driving, parked in the sun, or plugged in.
What runs on 12V, and what needs 240V
Knowing which appliances draw which power helps you plan. On 12V you can comfortably run LED lighting, the water pump, a compressor fridge, USB sockets, a diesel heater and a stereo. These are the everyday essentials, and they sip power rather than gulp it. On 240V you find the power-hungry items: microwaves, kettles, hairdryers and mains laptop chargers. Because these draw a lot, running them off the battery through an inverter drains it quickly, so most owners use them only on hook-up or keep them for occasional use.
Inverters explained
An inverter converts 12V battery power into 240V mains power, letting you use household plugs without a hook-up. It sounds like the answer to everything, but there is a catch: converting power this way is not free, and high-draw appliances flatten a battery fast.
A small inverter is perfect for charging a laptop or running a few low-power gadgets.
If you want to run a kettle or microwave off-grid, you need a large inverter backed by a serious lithium battery bank and plenty of charging, which pushes up the cost and complexity of the build.
Sizing your system
The right system starts with your usage, not a shopping list.
Add up what you plan to run and for how long, and you get a rough idea of the daily power you need in amp-hours. A couple spending weekends away with a fridge, lights and phone charging need far less than a family living in the van full time with a big fridge, a heater and devices running all day.
Size the battery, the charging and any inverter around that honest picture, then add a little headroom for dull days and busy trips.
Fuses, wiring and monitoring
A safe system is about more than batteries and panels.
Every circuit needs the right size of cable and its own correctly rated fuse, because undersized wire and missing protection are what cause overheating and fires.
A consumer unit or fuse box keeps each circuit separate
So a fault in one place does not take down the whole van. It is also worth fitting a battery monitor or a simple display, which shows how much power you have left in the same way a fuel gauge shows how much diesel is in the tank.
That one addition takes the guesswork out of off-grid life, because you can see at a glance whether you need to drive, catch some sun or find a hook-up.
Good cable management matters too
Neat, secured wiring that is protected where it passes through metal keeps the system reliable for years and makes any future fault easy to trace. This is the sort of detail that separates a tidy professional install from a bundle of wires behind a panel, and it is exactly the kind of thing that is hard to put right once the furniture is built over it.
Why a professional install matters
Electrics are the part of a conversion where mistakes carry the most risk.
Poor connections, undersized cable and badly protected circuits can cause fires or damage expensive components, and shoddy work can invalidate your insurance.
A properly designed and fitted system is safe, reliable and documented, which also helps when you insure or sell the van. Our team designs and installs campervan electrical systems to a safe standard as part of every conversion package and bespoke build, sized around the way you actually travel.
If you would like a system built around your plans, get in touch.