Turning an empty van into a campervan is a big project, and one of the first questions customers often ask us is: what actually happens once I decide I want a conversion?
At Revampavan, every project starts with understanding how you want to use your van. Some customers want a compact camper that can still be driven every day. Others want a four-berth family camper, an off-grid setup for longer trips or a larger touring van with a permanent bed, bathroom, hot water and plenty of storage.
That is why our process starts with you, rather than simply starting with a list of equipment.
From choosing the right base van and conversion package through to design, manufacture, installation and final handover, here is how a typical Revampavan campervan conversion works.
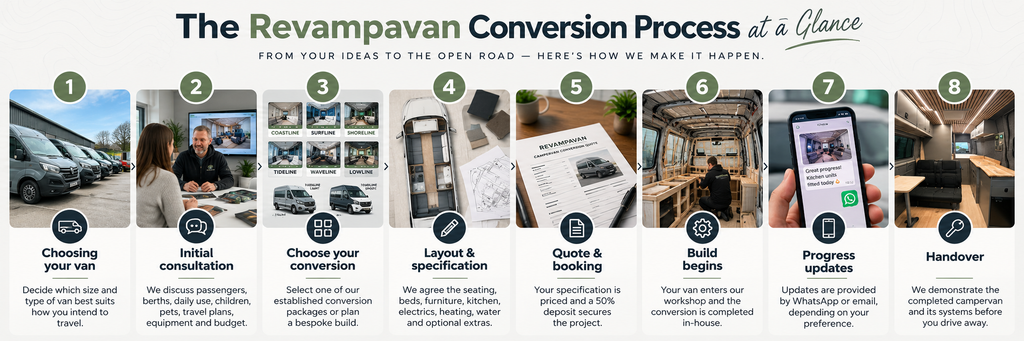
The Revampavan Conversion Process at a Glance
| Stage | What Happens |
|---|---|
| 1. Choosing your van | Decide which size and type of van best suits how you intend to travel. |
| 2. Initial consultation | We discuss passengers, berths, daily use, children, pets, travel plans, equipment and budget. |
| 3. Choose your conversion | Select one of our established conversion packages or plan a bespoke build. |
| 4. Layout & specification | We agree the seating, beds, furniture, kitchen, electrics, heating, water and optional extras. |
| 5. Quote & booking | Your specification is priced and a 50% deposit secures the project. |
| 6. Build begins | Your van enters our workshop and the conversion is completed in-house. |
| 7. Progress updates | Updates are provided by WhatsApp or email, depending on your preference. |
| 8. Handover | We demonstrate the completed campervan and its systems before you drive away. |
Step 1: Choosing the Right Van for Your Campervan Conversion
If you already own a van, we can start by discussing what can realistically be achieved with it.
If you haven’t purchased one yet, it can actually be useful to speak to us before buying the van. We can help you understand which models, wheelbases and roof heights are best suited to the conversion you have in mind, and we can also help customers source suitable vans.
We work with a wide range of base vehicles, from compact and medium vans through to larger panel vans.
Our Vans We Convert section covers the main vehicles we regularly work with, including the Volkswagen Transporter, Ford Transit Custom, Renault Trafic, Vauxhall Vivaro, Volkswagen Crafter, MAN TGE, Fiat Ducato, Peugeot Boxer, Citroën Relay and electric vans such as the Volkswagen ID. Buzz and Peugeot E-Expert.
We can convert both new and used vans. In most cases we will consider suitable vehicles up to around 20 years old, although the condition and suitability of the individual van will always matter.
Small, medium or large van?
The size of van you choose has a major effect on what can be fitted inside.
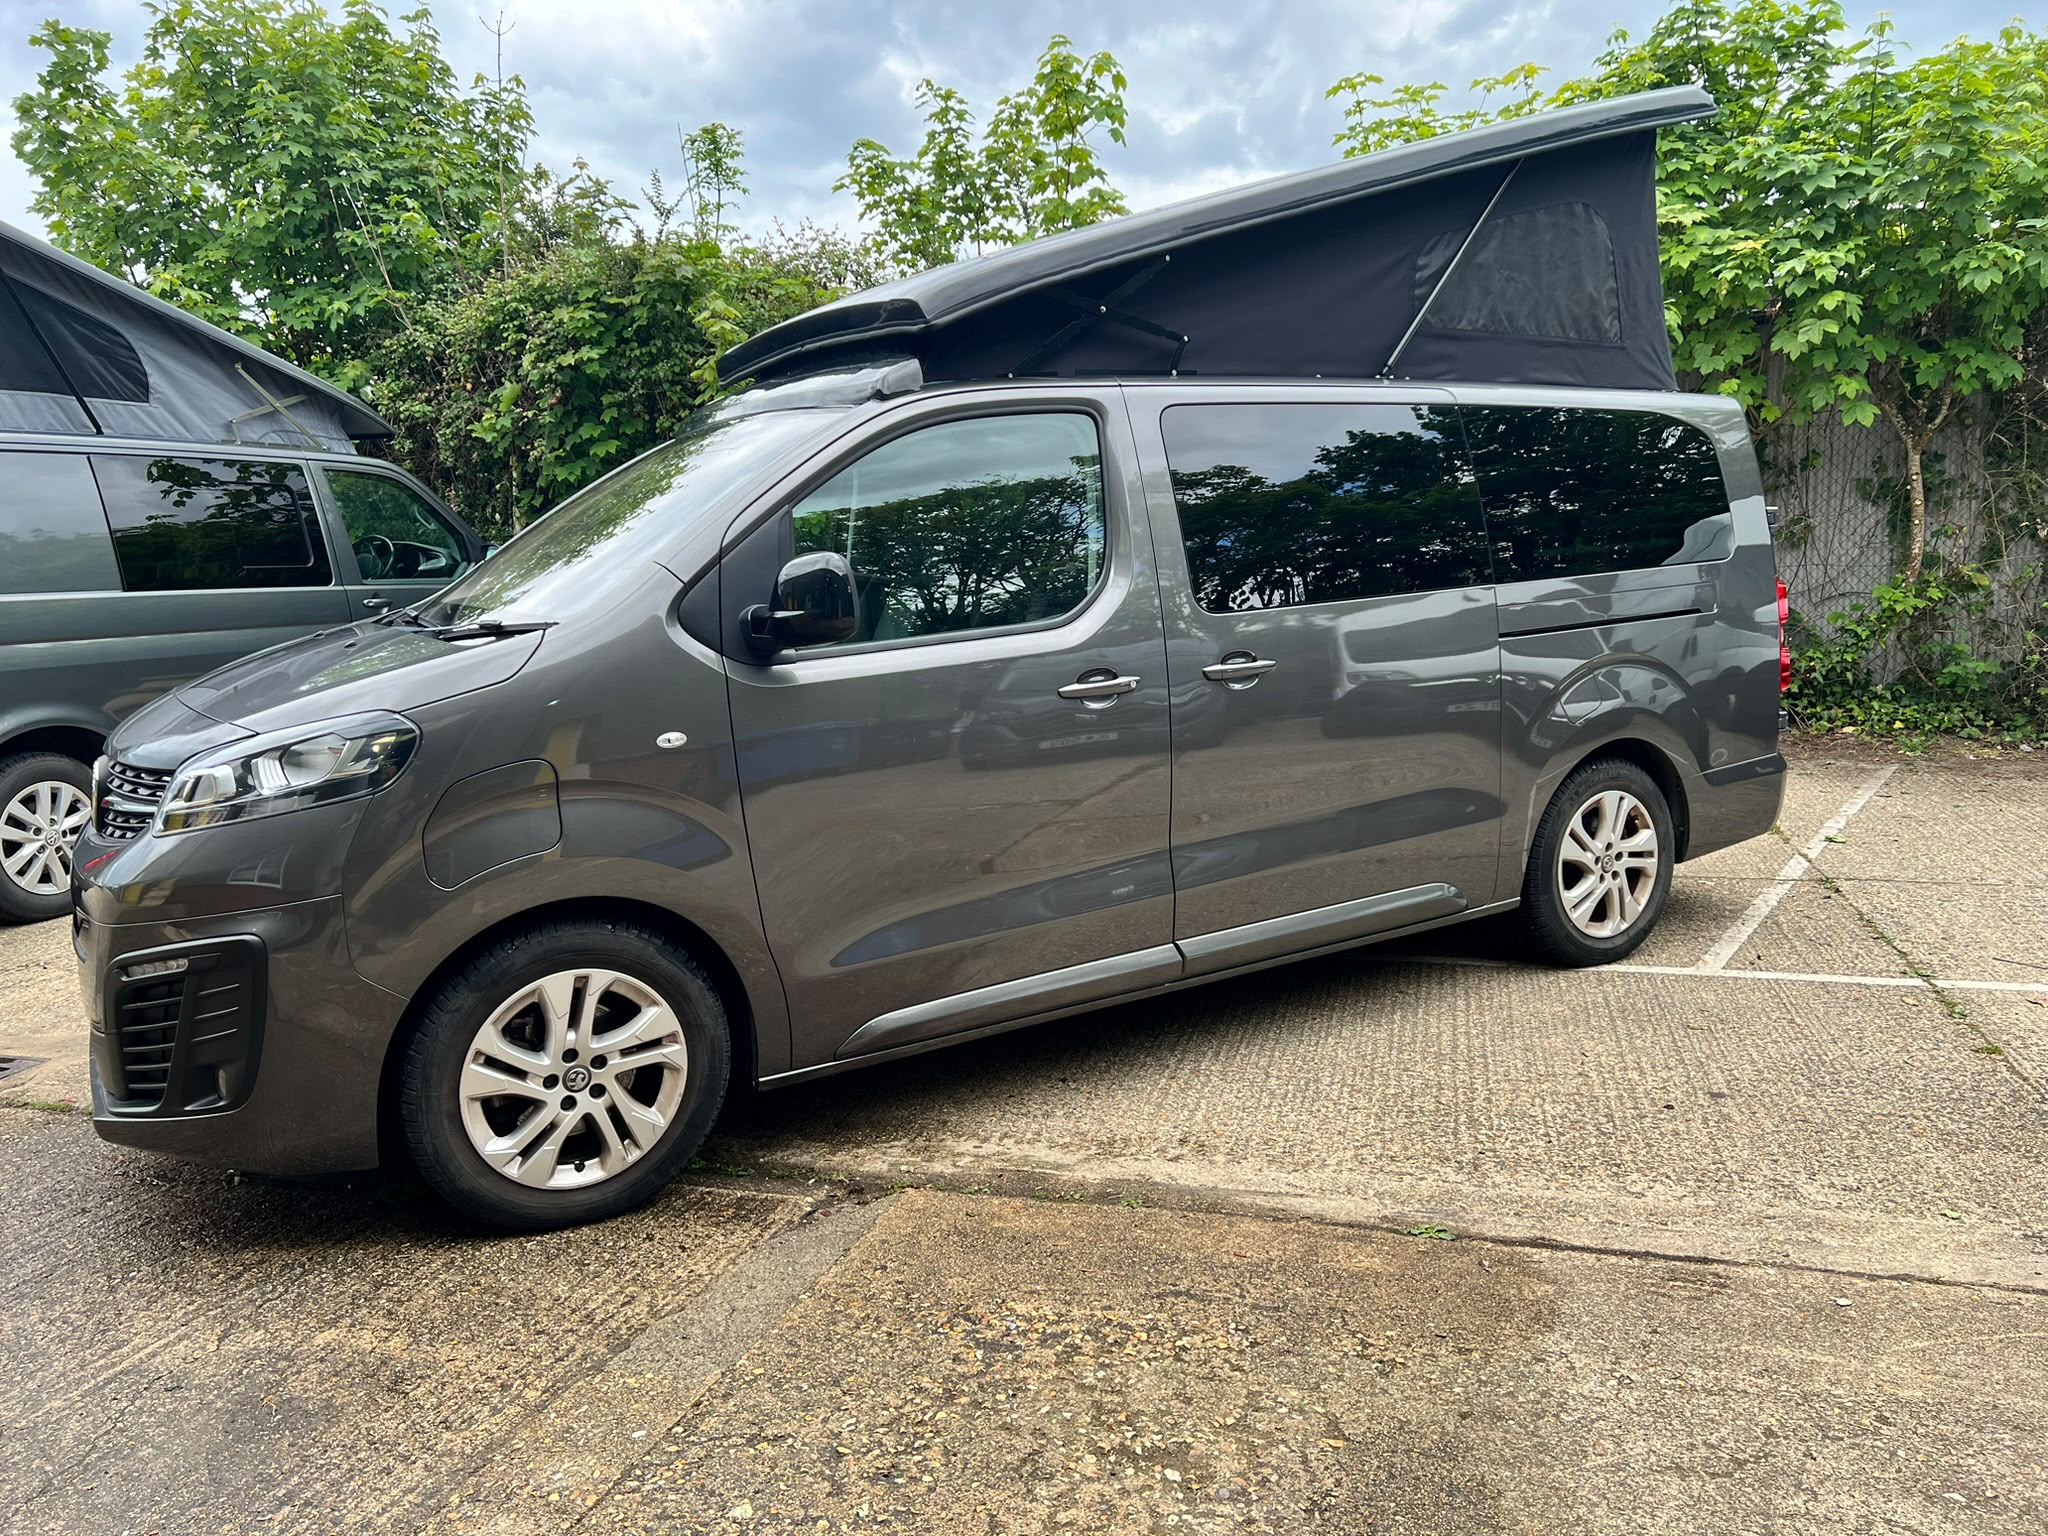
A Volkswagen Transporter or Ford Transit Custom, for example, can make an excellent everyday campervan and works particularly well with layouts incorporating a seat/bed, side furniture and an optional elevating roof.
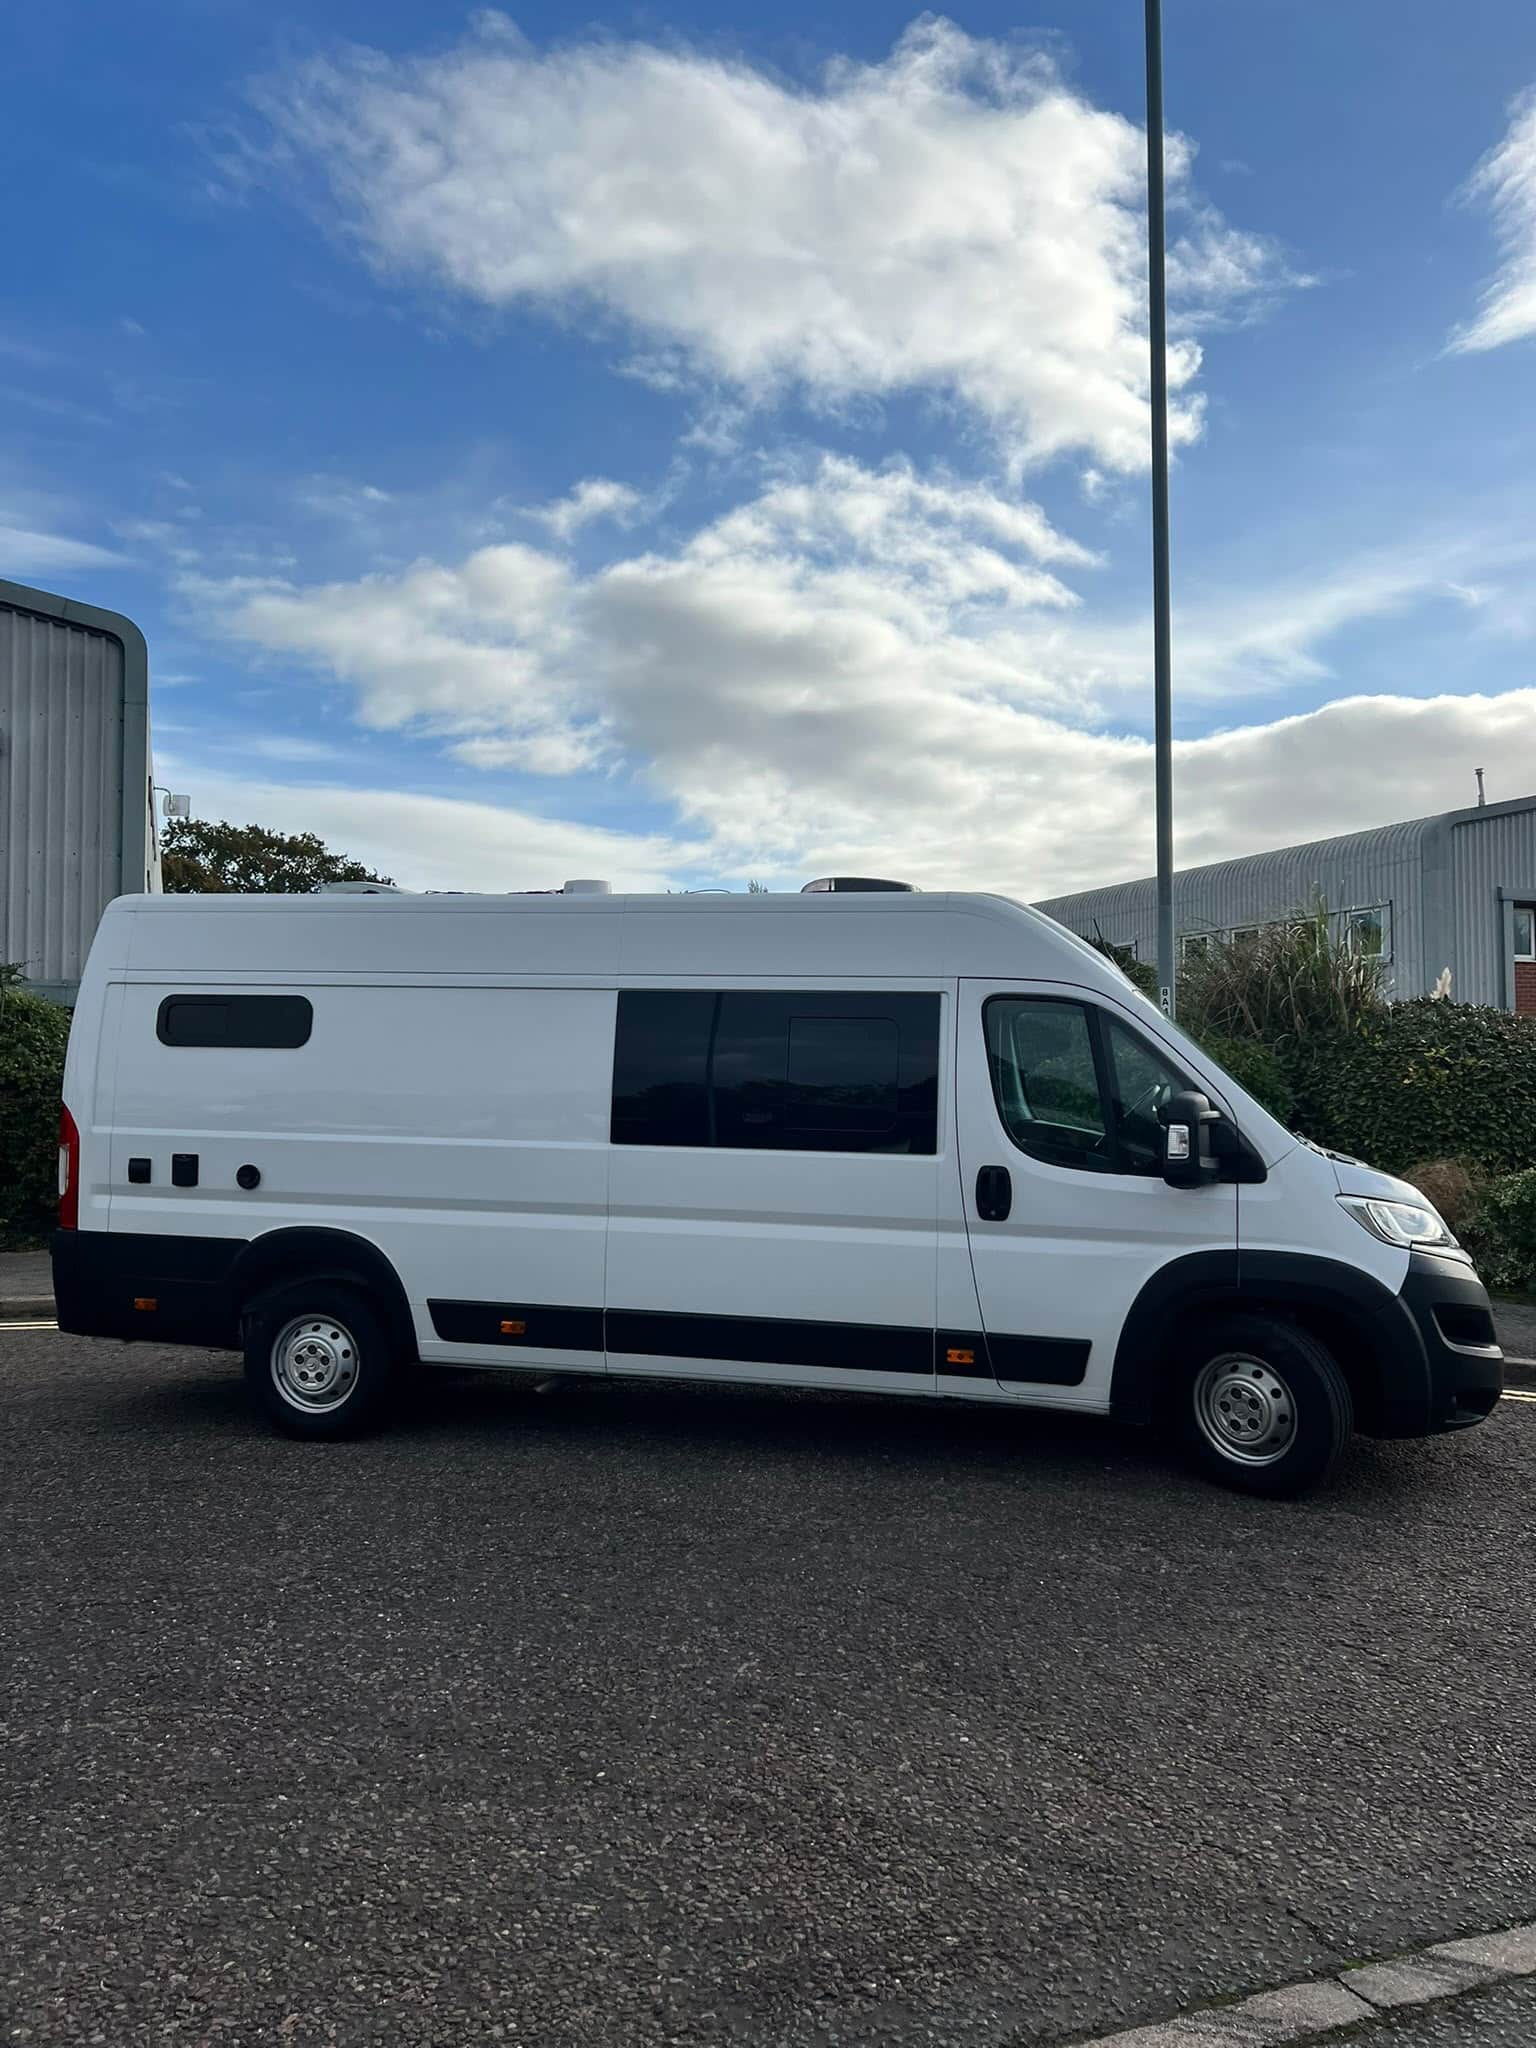
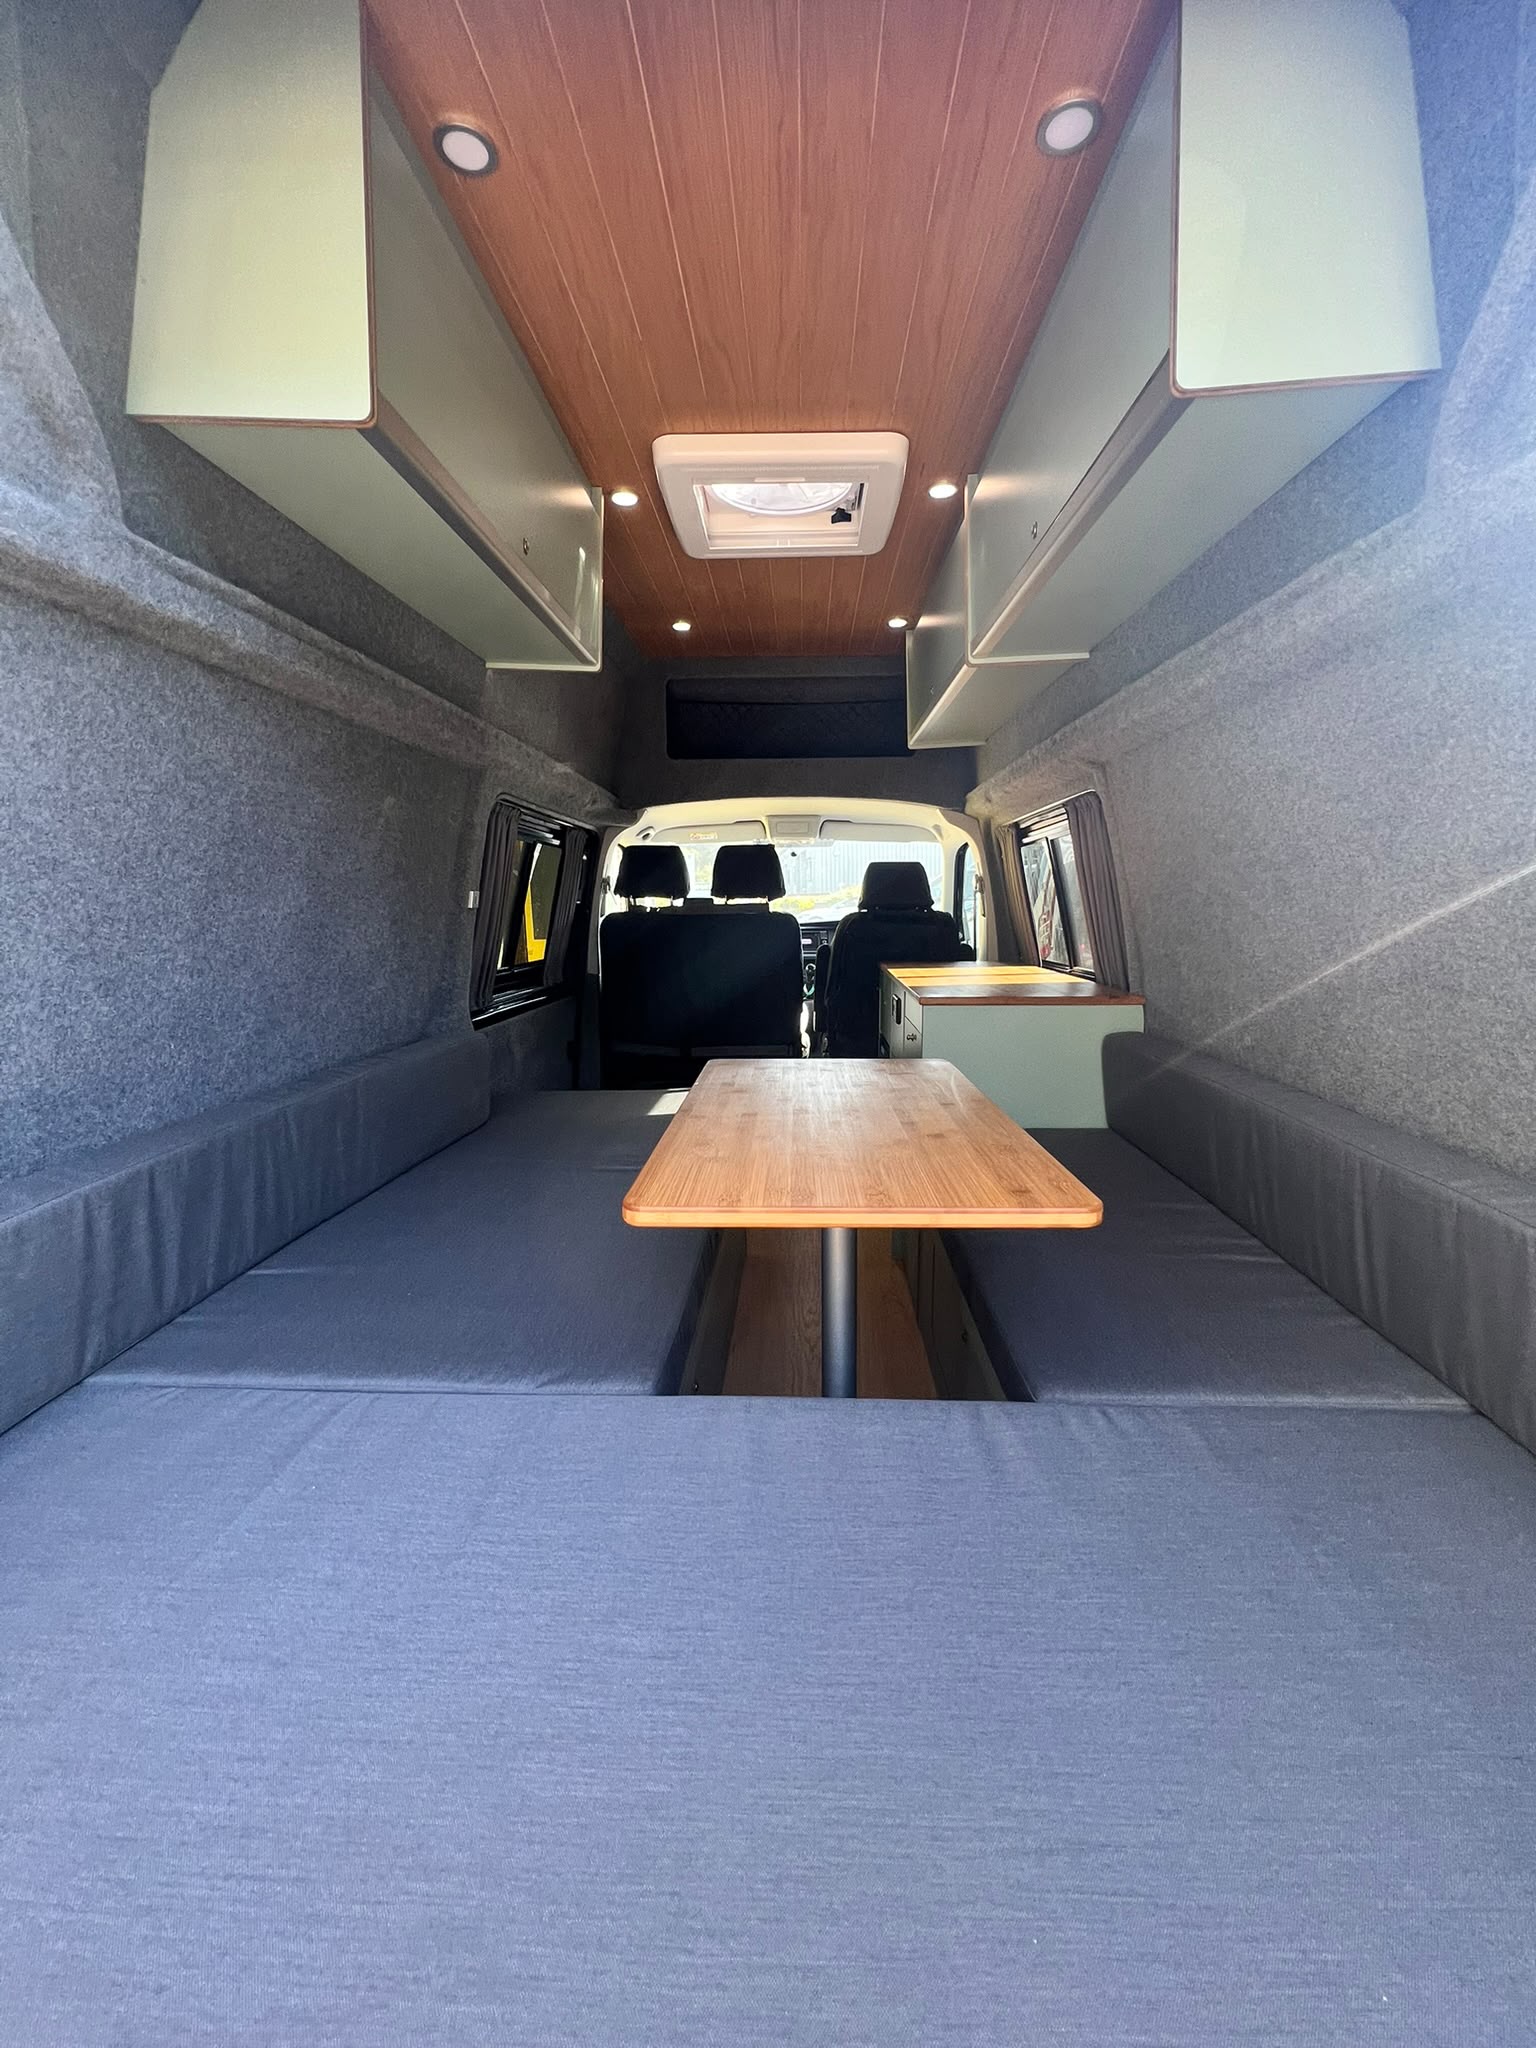
A larger vehicle such as a Volkswagen Crafter, MAN TGE, Peugeot Boxer or Citroën Relay gives us considerably more room for features such as permanent rear beds, bathrooms, larger kitchens, additional water storage and more extensive electrical systems.
The right choice isn’t necessarily the largest van available. It is the van that gives you enough space for your requirements without making the vehicle unnecessarily large for the way you plan to use it.
Step 2: Come and Talk to Us About How You Want to Use the Van
For most customers, the best place to start is a consultation at our workshop.
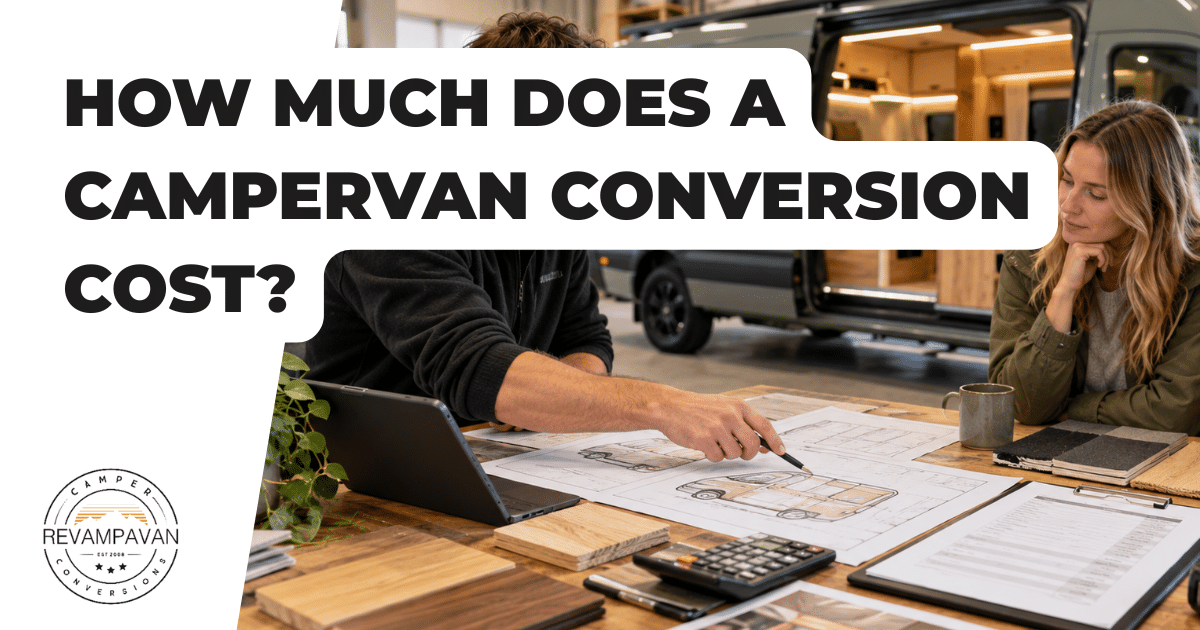
This allows us to talk through your ideas, show you examples and understand exactly what you want your finished campervan to achieve.
If you already know the exact conversion and specification you want, we can often discuss the project remotely and prepare a quotation without you initially needing to visit.
During the consultation, we aren’t simply asking what colour units you want.
We need to understand how the campervan will actually be used.
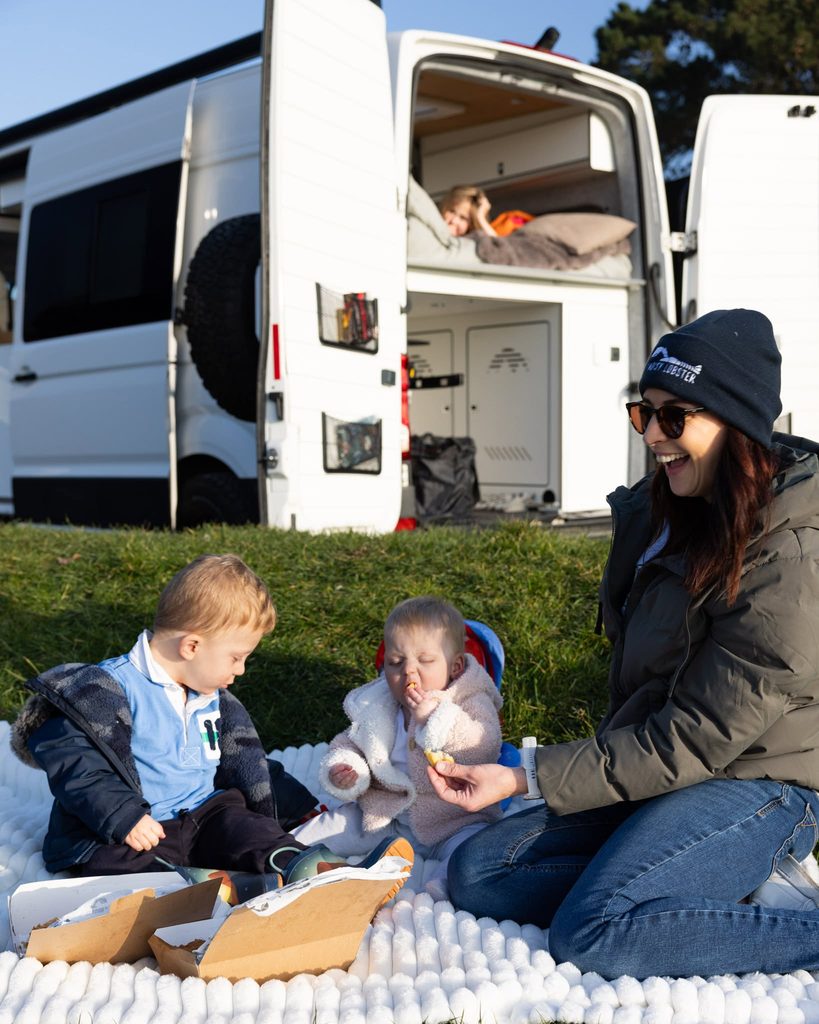
How many people need to travel in it? How many need somewhere to sleep? Will the van also be your daily driver? Will young children be travelling with you? What about older children, other adults or pets?
We will also discuss the type of travelling you have planned.
A campervan designed primarily for occasional weekends away can have a very different specification from one intended for longer holidays, European touring or regular off-grid camping.
Budget is another important part of the conversation. Establishing this early allows us to recommend where your money will make the biggest difference rather than filling the van with equipment you may never use.
Contact Revampavan to arrange a consultation and talk through your ideas.
Step 3: Choose a Campervan Conversion Package or Go Bespoke
Once we understand your requirements, the next decision is whether one of our established full campervan conversion packages suits you or whether the project needs to become more bespoke.
Our conversion packages provide a proven starting point and make it easier to compare different layouts, specifications and price points.
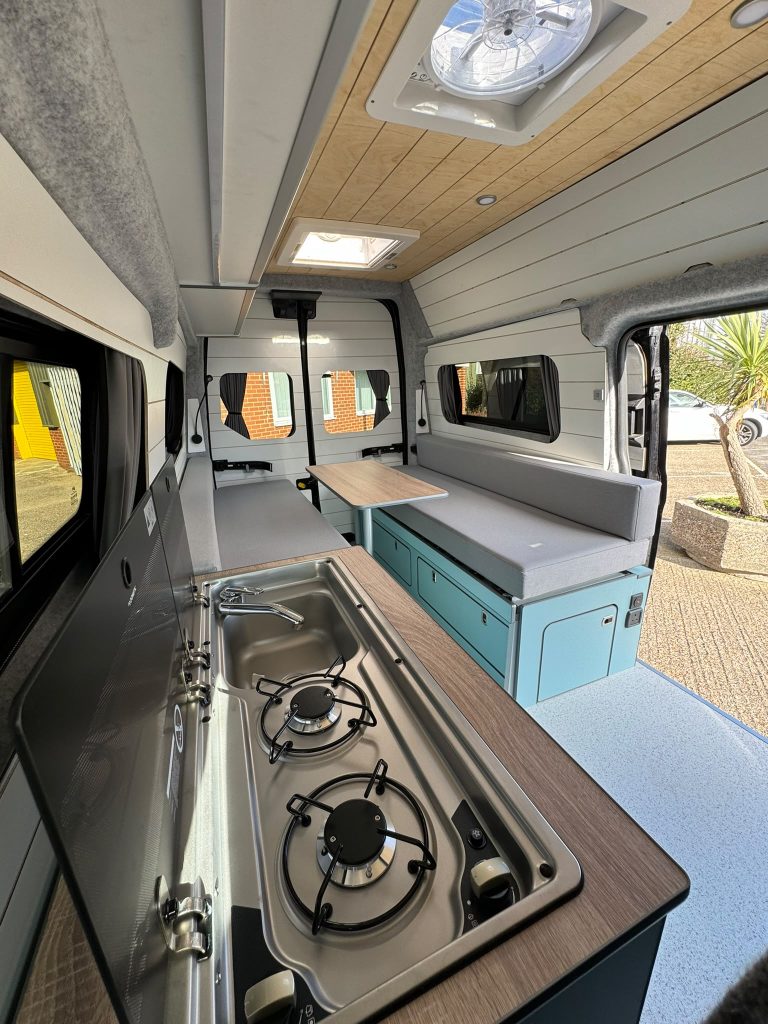
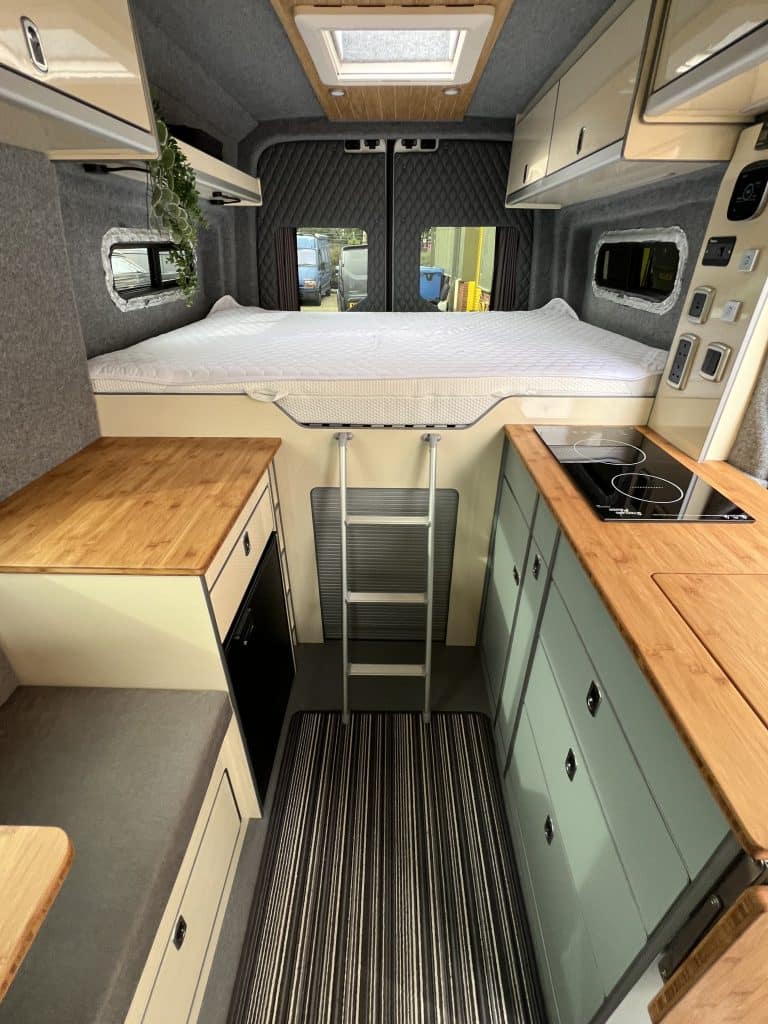
For medium-size vans, customers can choose between conversions such as the Coastline, Surfline, Shoreline, Tideline, Waveline and Lowline.
For larger vans, our Tourline Light and Tourline Sport ranges provide options for MWB and LWB vehicles.
The important thing is that choosing a package doesn’t mean every van has to be identical.
There are still decisions around finishes, furniture, upholstery, lighting, electrical equipment, heating, solar, seating and other options.
You can explore the complete range on our Our Campervan Conversions page.
What if none of the standard layouts is right?
That’s where our bespoke campervan conversions come in.
A bespoke conversion gives us much more freedom to design the van around a particular requirement.
That could be additional storage for sports equipment, a specific sleeping arrangement, unusual seating requirements, space for pets, particular electrical equipment or simply a layout that isn’t covered by one of our normal conversion ranges.
We can also complete partial conversions, so you don’t necessarily need us to carry out an entire campervan build from start to finish.
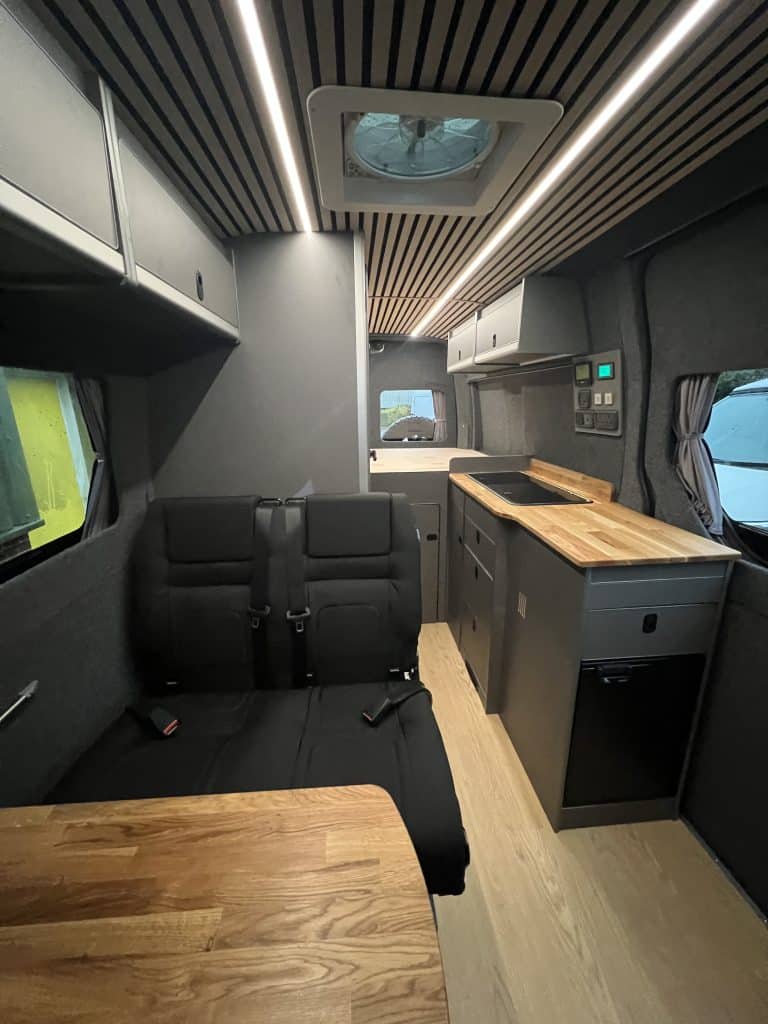
Step 4: Agreeing the Campervan Layout
This is one of the most important stages of the entire project.
Before work begins, we need to make sure the available space works properly for both travelling and living.
If five people need to travel in the van, the seating needs to be planned first. If four people need somewhere to sleep, we then need to establish where those four berths come from.
The layout also needs to work when everyone is awake.
Can people move through the van comfortably? Is there enough usable kitchen space? Where does the bedding go during the day? Where will food, clothes and equipment be stored?
A layout that looks impressive when the van is empty doesn’t necessarily work well once a family, luggage, bedding and everything required for a week’s holiday are inside.
We can show customers visual layouts and plans as part of the planning process, allowing us to refine the design before the physical build begins.
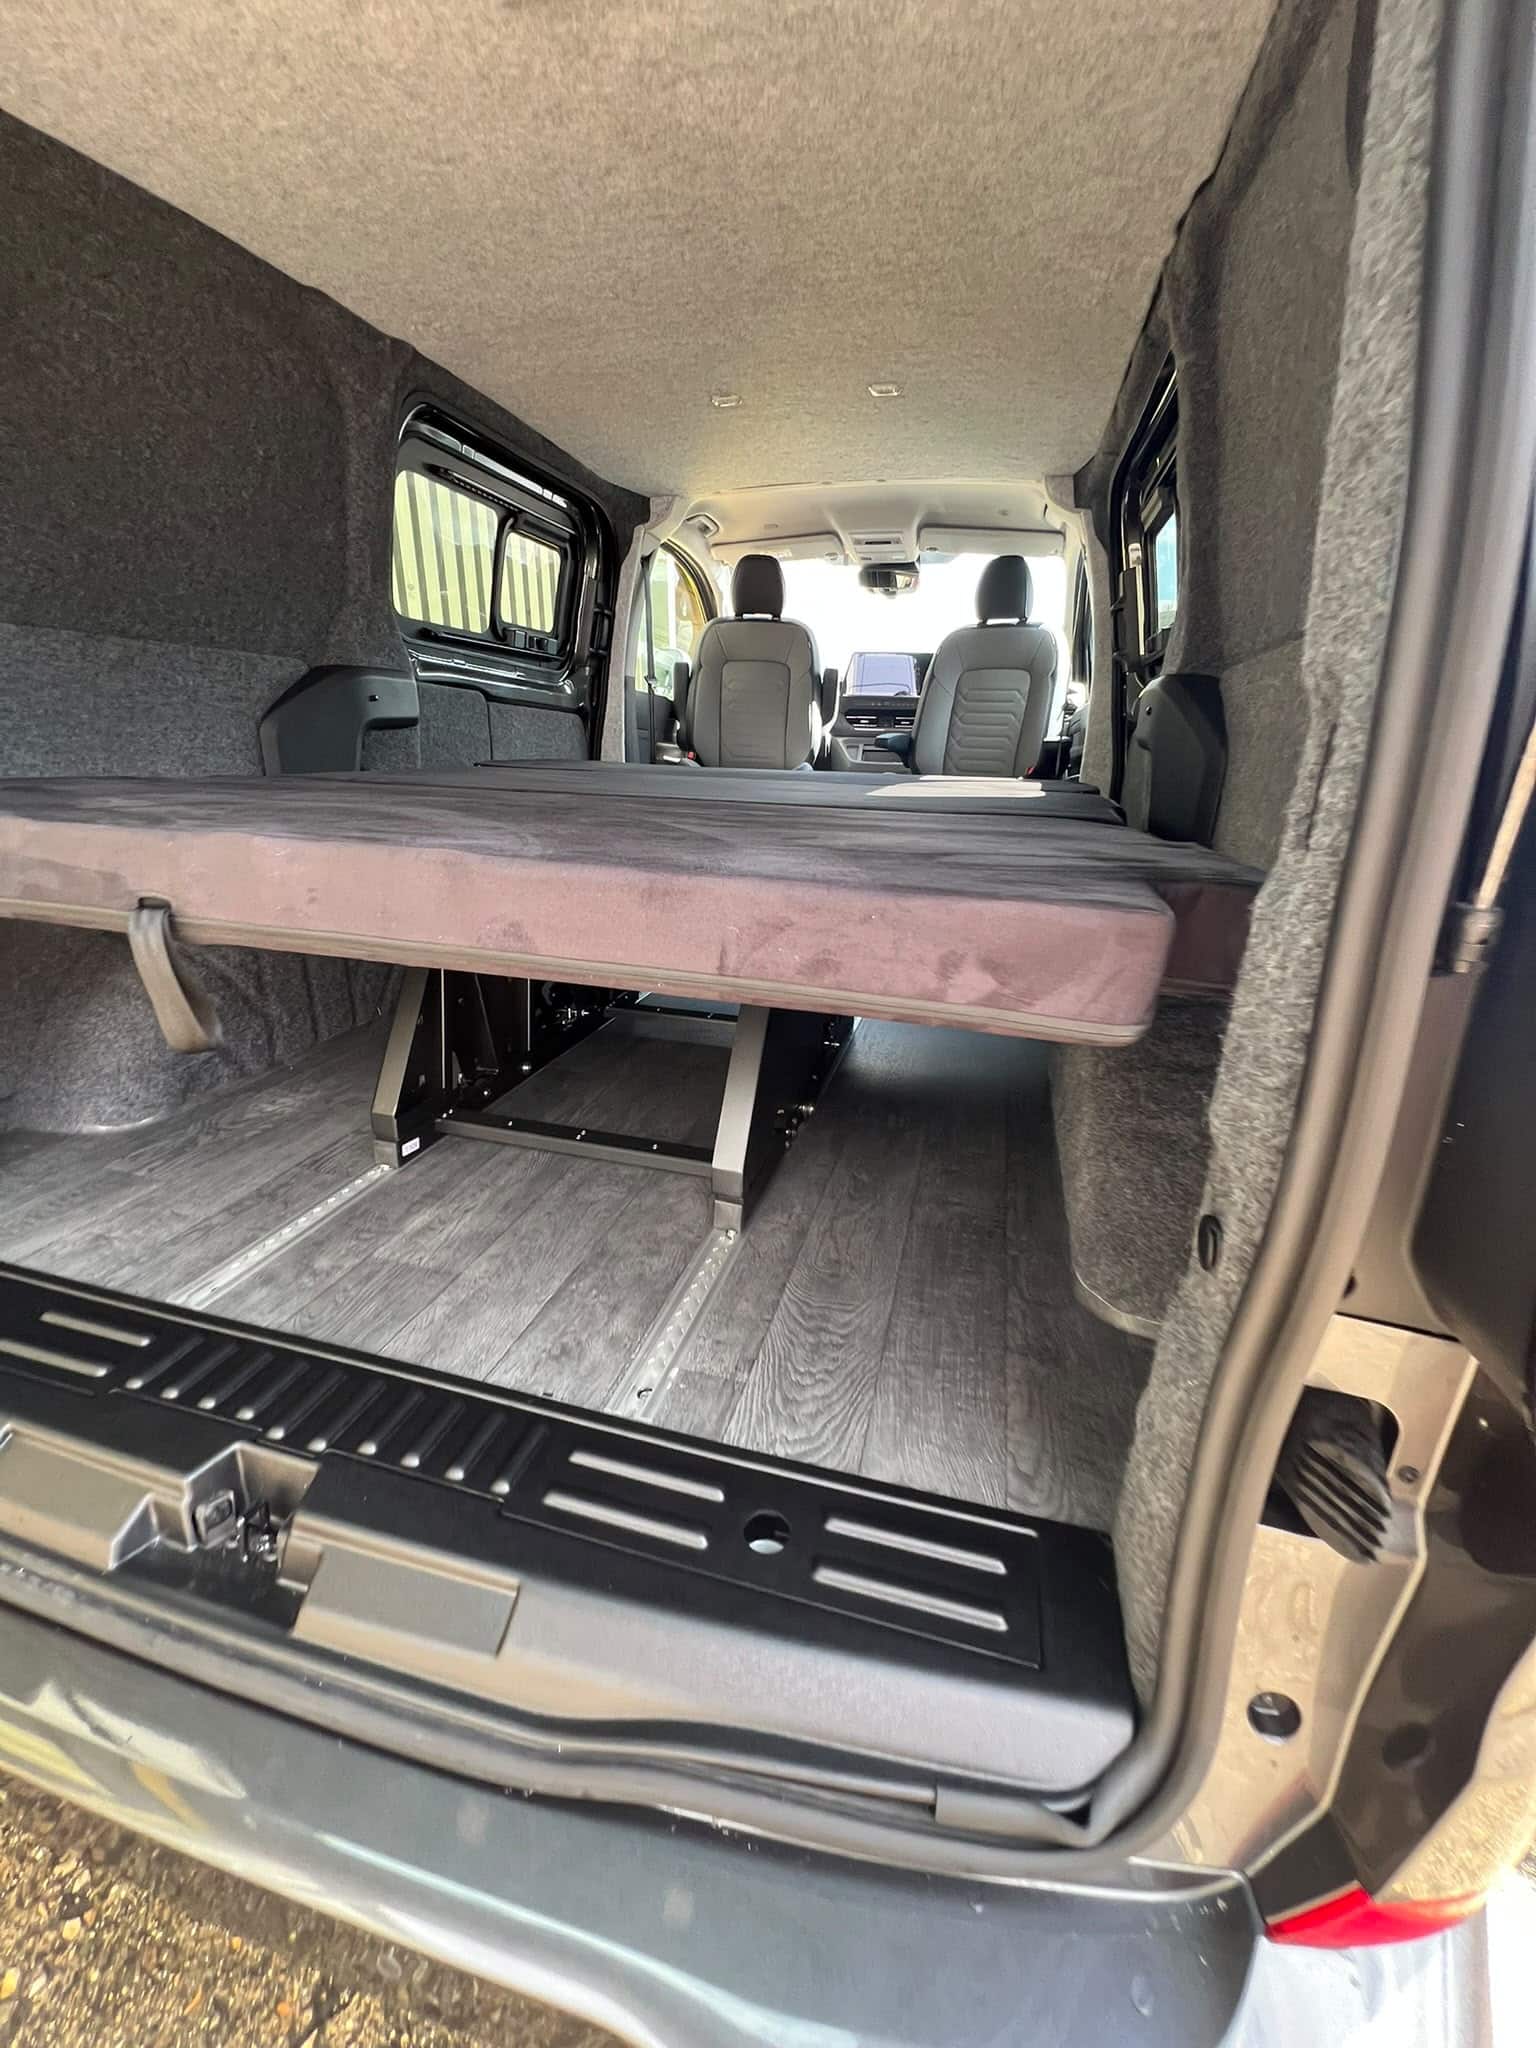
For the seating and sleeping side of the project, you can see more about the systems we install on our Campervan Seats, Beds & Swivel Bases page.
Step 5: Building the Specification Around You
With the main layout agreed, we can start specifying the individual systems and finishes.
This is where a campervan becomes much more personal.
A customer planning mainly to stay on campsites may have very different electrical requirements from someone who wants to spend several days away from electric hookup.
Likewise, somebody touring throughout winter may place heating much higher on the priority list than somebody building a summer weekender.
We plan these systems together rather than treating them as unrelated extras.
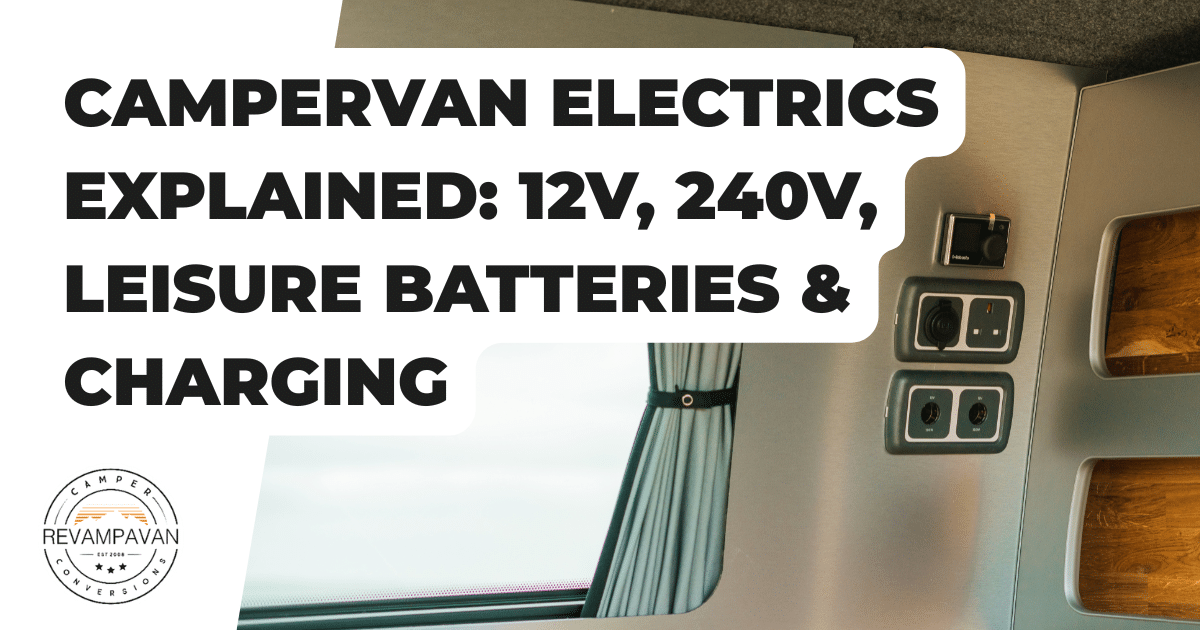
Depending on the conversion, this can include campervan electrics, leisure batteries, solar panels, 12V and 240V power, campervan heating, water systems, gas systems, kitchen equipment and refrigeration.
You can also choose from different campervan kitchens, fridges, sinks and hobs, furniture finishes, worktops, flooring, upholstery, carpet colours and lighting options.
For vans requiring additional standing height or sleeping accommodation, an elevating roof installation can also be incorporated into the conversion.
The key is deciding what you will genuinely use.
A good campervan doesn’t need to have every available option. It needs to have the right options for the person using it.
Step 6: Furniture Design and Manufacturing
Furniture takes up a significant proportion of any campervan interior, so fitting it properly into the available space is essential.
At Revampavan, our campervan furniture can be designed and manufactured in-house.
Our workshop includes CNC machinery, allowing furniture components to be accurately cut for the conversion rather than relying entirely on generic off-the-shelf cabinetry.
Customers can choose from different finishes, colours and materials to create an interior that suits the look they want.
You can see more examples and options on our Campervan Furniture & Interiors page.
IMAGE SUGGESTION: Show the CNC machine cutting campervan furniture, followed by a finished interior using the completed units.
Step 7: Preparing the Van
Once your build date arrives, the van comes into our workshop and the physical conversion begins.
The exact order depends on the vehicle and specification because no two projects are completely identical.
Major installations such as windows, roofs and structural elements need to be considered before the interior is completed. Wiring, water pipes, heater ducting and other services also need to be planned before furniture makes those areas difficult to access.
Sound deadening, insulation, lining and flooring form the foundation of the living space and are particularly important if the vehicle is going to be used throughout the year.
Our Campervan Sound Deadening, Insulation, Lining & Flooring page explains this part of the conversion in more detail.
Windows and ventilation are also installed as part of this stage where required. You can see the options available on our Campervan Windows page.
IMAGE SUGGESTION: This is where build-progress photographs will work particularly well: empty van → insulation/wiring → furniture installation → finished camper.
Step 8: Your Campervan Is Built in Our Workshop
One of the advantages of having a complete conversion carried out by Revampavan is that the different parts of the project can be coordinated under one roof.
Our team handles work including furniture manufacturing, carpentry, electrical installations, glazing, panel work, elevating roof installations and upholstery.
We normally have around three to four vans progressing through the workshop at the same time, often at completely different stages.
One may have just arrived and be undergoing its initial preparation while another is having furniture installed and another is approaching final testing and handover.
You can explore the different types of work we carry out on our Campervan Conversion Services page.
How Long Does a Campervan Conversion Take?
As a general guide, the current Revampavan workshop lead time is normally around six to eight weeks, although this can vary depending on workload and the type of project being booked.
Once the vehicle enters the workshop, a typical complete campervan conversion takes approximately four to eight weeks.
Smaller van conversions can often be completed in around four weeks.
Larger or particularly bespoke conversions can require considerably more workshop time because of the number of systems and individually manufactured components involved.
For example, one of our Renault Master L3 H2 Tourline Sport conversions required approximately 220 hours of workshop time to complete.
The most accurate timescale will always be confirmed when your particular conversion is quoted and booked.
How Do I Know What’s Happening During the Build?
We understand that handing over your van for several weeks can feel very different from leaving a car at a garage for the afternoon.
Customers can receive progress updates throughout the conversion by WhatsApp or email, depending on which they prefer.
This also gives us a straightforward way to communicate during the build where necessary.
And, of course, the finished conversion is considerably more exciting when you have seen it develop from an empty van into a camper.
What Happens When the Campervan Is Finished?
Once the conversion is complete, we carry out the final checks before arranging collection.
At handover, we take you through the completed campervan and explain how the equipment and systems work so you’re comfortable using everything before you leave.
That might include the electrical system, charging, solar, heating, hot water, gas equipment, water system, seating and bed mechanisms.
Revampavan conversions include a two-year warranty, alongside the applicable warranties provided by individual equipment manufacturers.
The final 50% balance is payable on collection.
Then the important part starts: actually using it.
Can You Upgrade or Refit an Existing Campervan?
Yes.
Not every customer comes to us with an empty panel van.
If you already own a campervan but the existing conversion is dated, poorly suited to the way you travel or simply needs modernising, we can also refit and upgrade existing campervan conversions.
That might involve replacing furniture, upgrading the electrical system, installing solar, fitting new heating, changing the seating or sleeping arrangements, adding windows or carrying out a more substantial redesign.
These projects are normally handled through our Bespoke Campervan Conversions service.
Should You Choose a Conversion Package or a Bespoke Build?
There isn’t one answer that works for everybody.
An established conversion package makes sense when one of our existing layouts already closely matches the way you want to use your van. You benefit from a layout and specification that has already been developed specifically for that style and size of vehicle.
A bespoke conversion becomes more useful when you have unusual requirements, need something designed around specific equipment or simply want the layout to work differently.
Whichever route you choose, we always come back to the same questions:
Who is travelling in the van, where are you going, how are you going to use it and what genuinely matters to you?
Once those questions are answered, designing the campervan becomes much easier.
Start Planning Your Campervan Conversion
Whether you already have your van sitting on the driveway or you’re still deciding what to buy, you don’t need to arrive with every detail worked out.
That’s what the consultation is for.
We can discuss suitable vans, conversion packages, layouts, seating, sleeping arrangements, electrics, heating, water, furniture, optional equipment and your overall budget before putting together a plan for the build.
If you already know exactly what you want, send us your specification and we can discuss the project and quotation remotely.
If you’re still deciding, arrange a visit to our workshop and we can work through the options together.
Explore Our Campervan Conversions or Contact Revampavan to start planning your build.